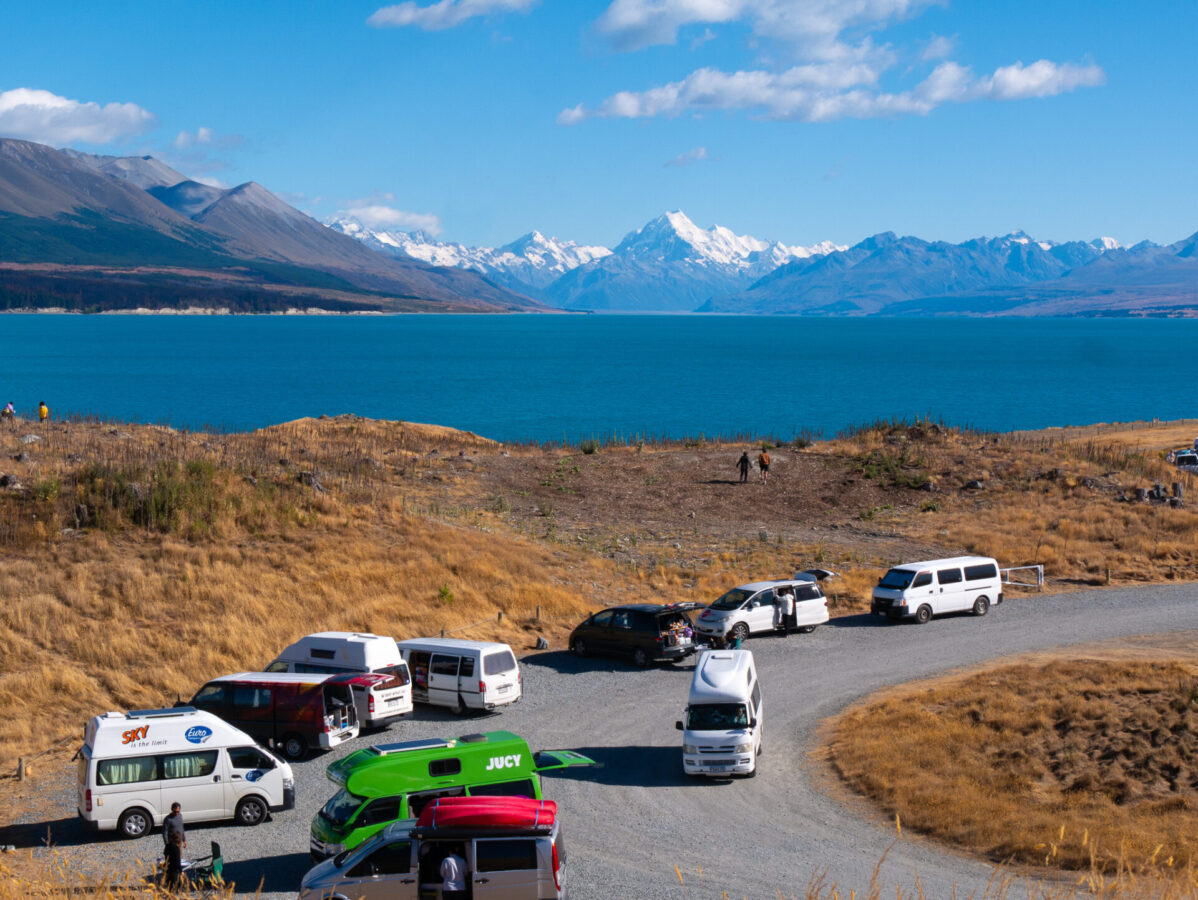
When I arrived in New Zealand with my Working Holiday Visa (WHV) and posted up in Queenstown, I was so stoked to get my first job offer at one of the cocktail bars there. My excitement was dimmed a little when I stumbled into an unexpected set back: how to get a bank account when I didn’t have an address, since I was living in my van at the time. I had no idea how strict NZ bank accounts were, so I had to go and figure out for myself how to “prove” a residential address that I didn’t even have. Since many newcomers to NZ wind up living in hostels or campervans for at least some of their time here, providing that proof can seem impossible. In this post, I outline the exact steps you need to follow to open a bank account in New Zealand without an address. I have also included tips for getting your IRD number, another essential component to sort out before you get paid. Hopefully, these tips help you to get your first paycheck ASAP!
Part 1: Choose Your Bank

There are four main banks in New Zealand: BNZ (Bank of New Zealand), ANZ, ASB, and Westpac.
For the purposes of the post I’m only going to talk about BNZ because at the time of this writing, they are the fastest bank to process new accounts. This is true to my experience and why my employer recommended this bank for me. I have heard stories from Facebook forums or my friends in Queenstown that some of the other banks have waiting lists to join or just have a long process to open a new account. So, BNZ is the best option to use.
I have very much enjoyed banking with BNZ and opening an account with them was super speedy once I had my address sorted out. The rest of this post follows the guidelines that are specific to BNZ, since I didn’t open an account with any of the others.
Part 2: Proving Your “Address”

BNZ has a webpage with a list of ways to prove your address, most of which involve showing a utility bill or some official document with your name and address on it. If you don’t have an address, there are only two ways that you can really get around not having one of those other documents, which I’ve outlined below:
1. Get an official letter from your hostel
Your hostel or lodge should be able to write a letter stating that you have been staying there long term and it is your current place of residence. I know several people in Queenstown who were living at hostels and able to get a letter from them to give to BNZ in their online application. This option seems to work well.
2. Get an official letter from your employer
If you aren’t staying in a hostel (for example, if you’re in a van like we were), then really your only option is having your employer write a letter stating that you are an employee of theirs and that you live at such and such address.
In my case, my employer actually lied in the letter, stating that I lived in one of their employee houses! And truly this was the ONLY option for me, since I was living in a van at the time and just didn’t have any way to prove my nonexistent address. When my boyfriend got hired at his job, he had to ask his boss to write a letter for him as well, and again they lied stating that he resided in their staff house.
Thankfully, both of these employers knew of our situation and were willing to help us out so we could get paid. I think this is pretty common practice in places like Queenstown where there are a ton of international newcomers but not a lot of housing for them.
Part 3: BNZ’s Account Opening Process

Step 1: Gather Your Documents
In order to complete the application to open an account, you will need two things:
- Your passport
- Your proof of address (one of the two options from above)
Step 2: Choose How You Want to Apply
After gathering your documents, go online to BNZ’s account opening page and click on “Open an account.”
Next, you need to choose through which method you would like to open your account. There are 3 options to choose from: RealMe, Take photos, or Verify in branch.
- RealMe requires a residential address and takes a bit more time to process because the bank will verify that it’s your address by sending you a piece of mail, so this option doesn’t work for people that don’t actually have an address or who want to quickly open an account.
- The Take photos option is only viable for New Zealand citizens or permanent residents, so this one won’t work for anyone on a WHV.
- Verify in branch is the one you want to choose. This one is the fastest, and you can do most of the onboarding right from their website as long as you have all the documents you need. It takes about ten minutes to apply online, where you will fill out information about yourself and submit your documents for the bank to approve. In a day or two, the bank will send you a verification email asking you to come visit a branch to verify your passport in person, and then your account will be all set!
After clicking “Get started online” under the Verify in branch option, you will have a few questions to answer about the nature of your intended banking and then you can click “Start your application.”
Step 3: Fill Out Your Application
In this stage, you will fill out more information about yourself and upload the required documents. Once you submit your application, you will then receive a confirmation letter from the bank in a day or two asking that you come into a branch to verify your ID.
It’s possible that the bank may deny your application if your documents are missing information. This happened to my boyfriend because the letter his employer wrote for him didn’t contain a signature. However, once he resubmitted the new corrected letter, they approved his application shortly after. Just make sure that the document has the following information: your full name and residential “address,” plus the name, date, signature and occupation of whoever is writing the letter.
Step 4: Visit a BNZ Branch
After you get your confirmation email from BNZ, they will request that you come into a branch so they can verify your ID in person. Once you go into the branch, you should walk out that same day with your new bank account! When I went, they also walked me through setting up the mobile app, how to add my new card to my Apple Wallet so that I could start using it before the physical card came in the mail, and some information about how to get my IRD number (which I go into more below).
FYI, you don’t need to use that residential address to get your card in the mail. I was able to use a separate mailing address (i.e. the post shop lobby in Queenstown, with permission from the clerks there) where I later picked up my card after it arrived.
Part 4: Getting Your IRD Number

What’s an IRD Number?
An IRD number is your tax number for working in NZ, and it’s essential to have this all sorted out before your first paycheck. Otherwise, you might get taxed at 50% your income! Getting an IRD is super easy. All you have to do is go to the Inland Revenue website to apply for your number online.
Important Dates When Applying for an IRD number
You should apply for your IRD number before the expiration date on your visa if possible. This is the date listed as the last date you may enter the country to start your visa. For example, when my visa was approved in July 2022, it gave me until July 29, 2023 to actually enter the country, like in the photo below.

If you are able to apply for your IRD number BEFORE that date, you can apply through the “new arrival” option on the IRD website. This is the fastest option, especially if you choose to receive your IRD number via text or email. They verify everything in a couple business days simply using your passport number and visa number you provide in the online application. If for some reason you opt to receive it in the mail (it’s 2024, come on), it will take about 10 business days.
If the expiration date has already passed, you can still get your IRD number, but it will take a little longer. It doesn’t matter if you literally arrived in the country on the day before your visa expires, and you technically ARE a new arrival – you just have to go by the dates on your visa letter. You must apply through the “not new arrival” option, and you’ll have to go in person to an AA Centre to verify your passport. After this step, it takes an additional 10 business days to receive your number by text or email if you applied online, or 12 business days by mail if you filled out a paper application.
What You Will Need
To apply for your IRD number, you will need the following:
- Your passport number
- Your immigration visa number
- Your tax number from your home country (For Americans, this is your SSN.)
Connect Your Bank and Your IRD Number
Once you get your IRD number, you’ll need to send it to your employer as well as connect it to your bank account so that you can get taxed appropriately. This is also the number you will use to file your taxes once you finish your working holiday.
You’re All Set!
I hope these steps help you to open a bank account in New Zealand without an address and get your first paycheck ASAP! Let me know in the comments below how your experience was!
If you are also planning on living in Queenstown or just moved there, be sure to check out my housing guide and Queenstown job guide, which outline some pretty essential tips for new arrivals to the area. Cheers and good luck!


Leave a Reply